JPEG to PNG converter
JPEG loses detail on every save, and it can't carry alpha. Converting to PNG is what you want when a photo is about to enter a pipeline that would re-encode it several more times (thumbnails, overlays, logos on top), or when you need a crisp, lossless version for a design document. This tool produces a true-lossless PNG from your JPEG — it won't magically recover the detail JPEG already threw away, but it guarantees no further degradation from here on. Useful for editable icons, UI screenshots, graphics you'll composite, or handing a source file to a designer who wants to work in RGB without worrying about the next save.
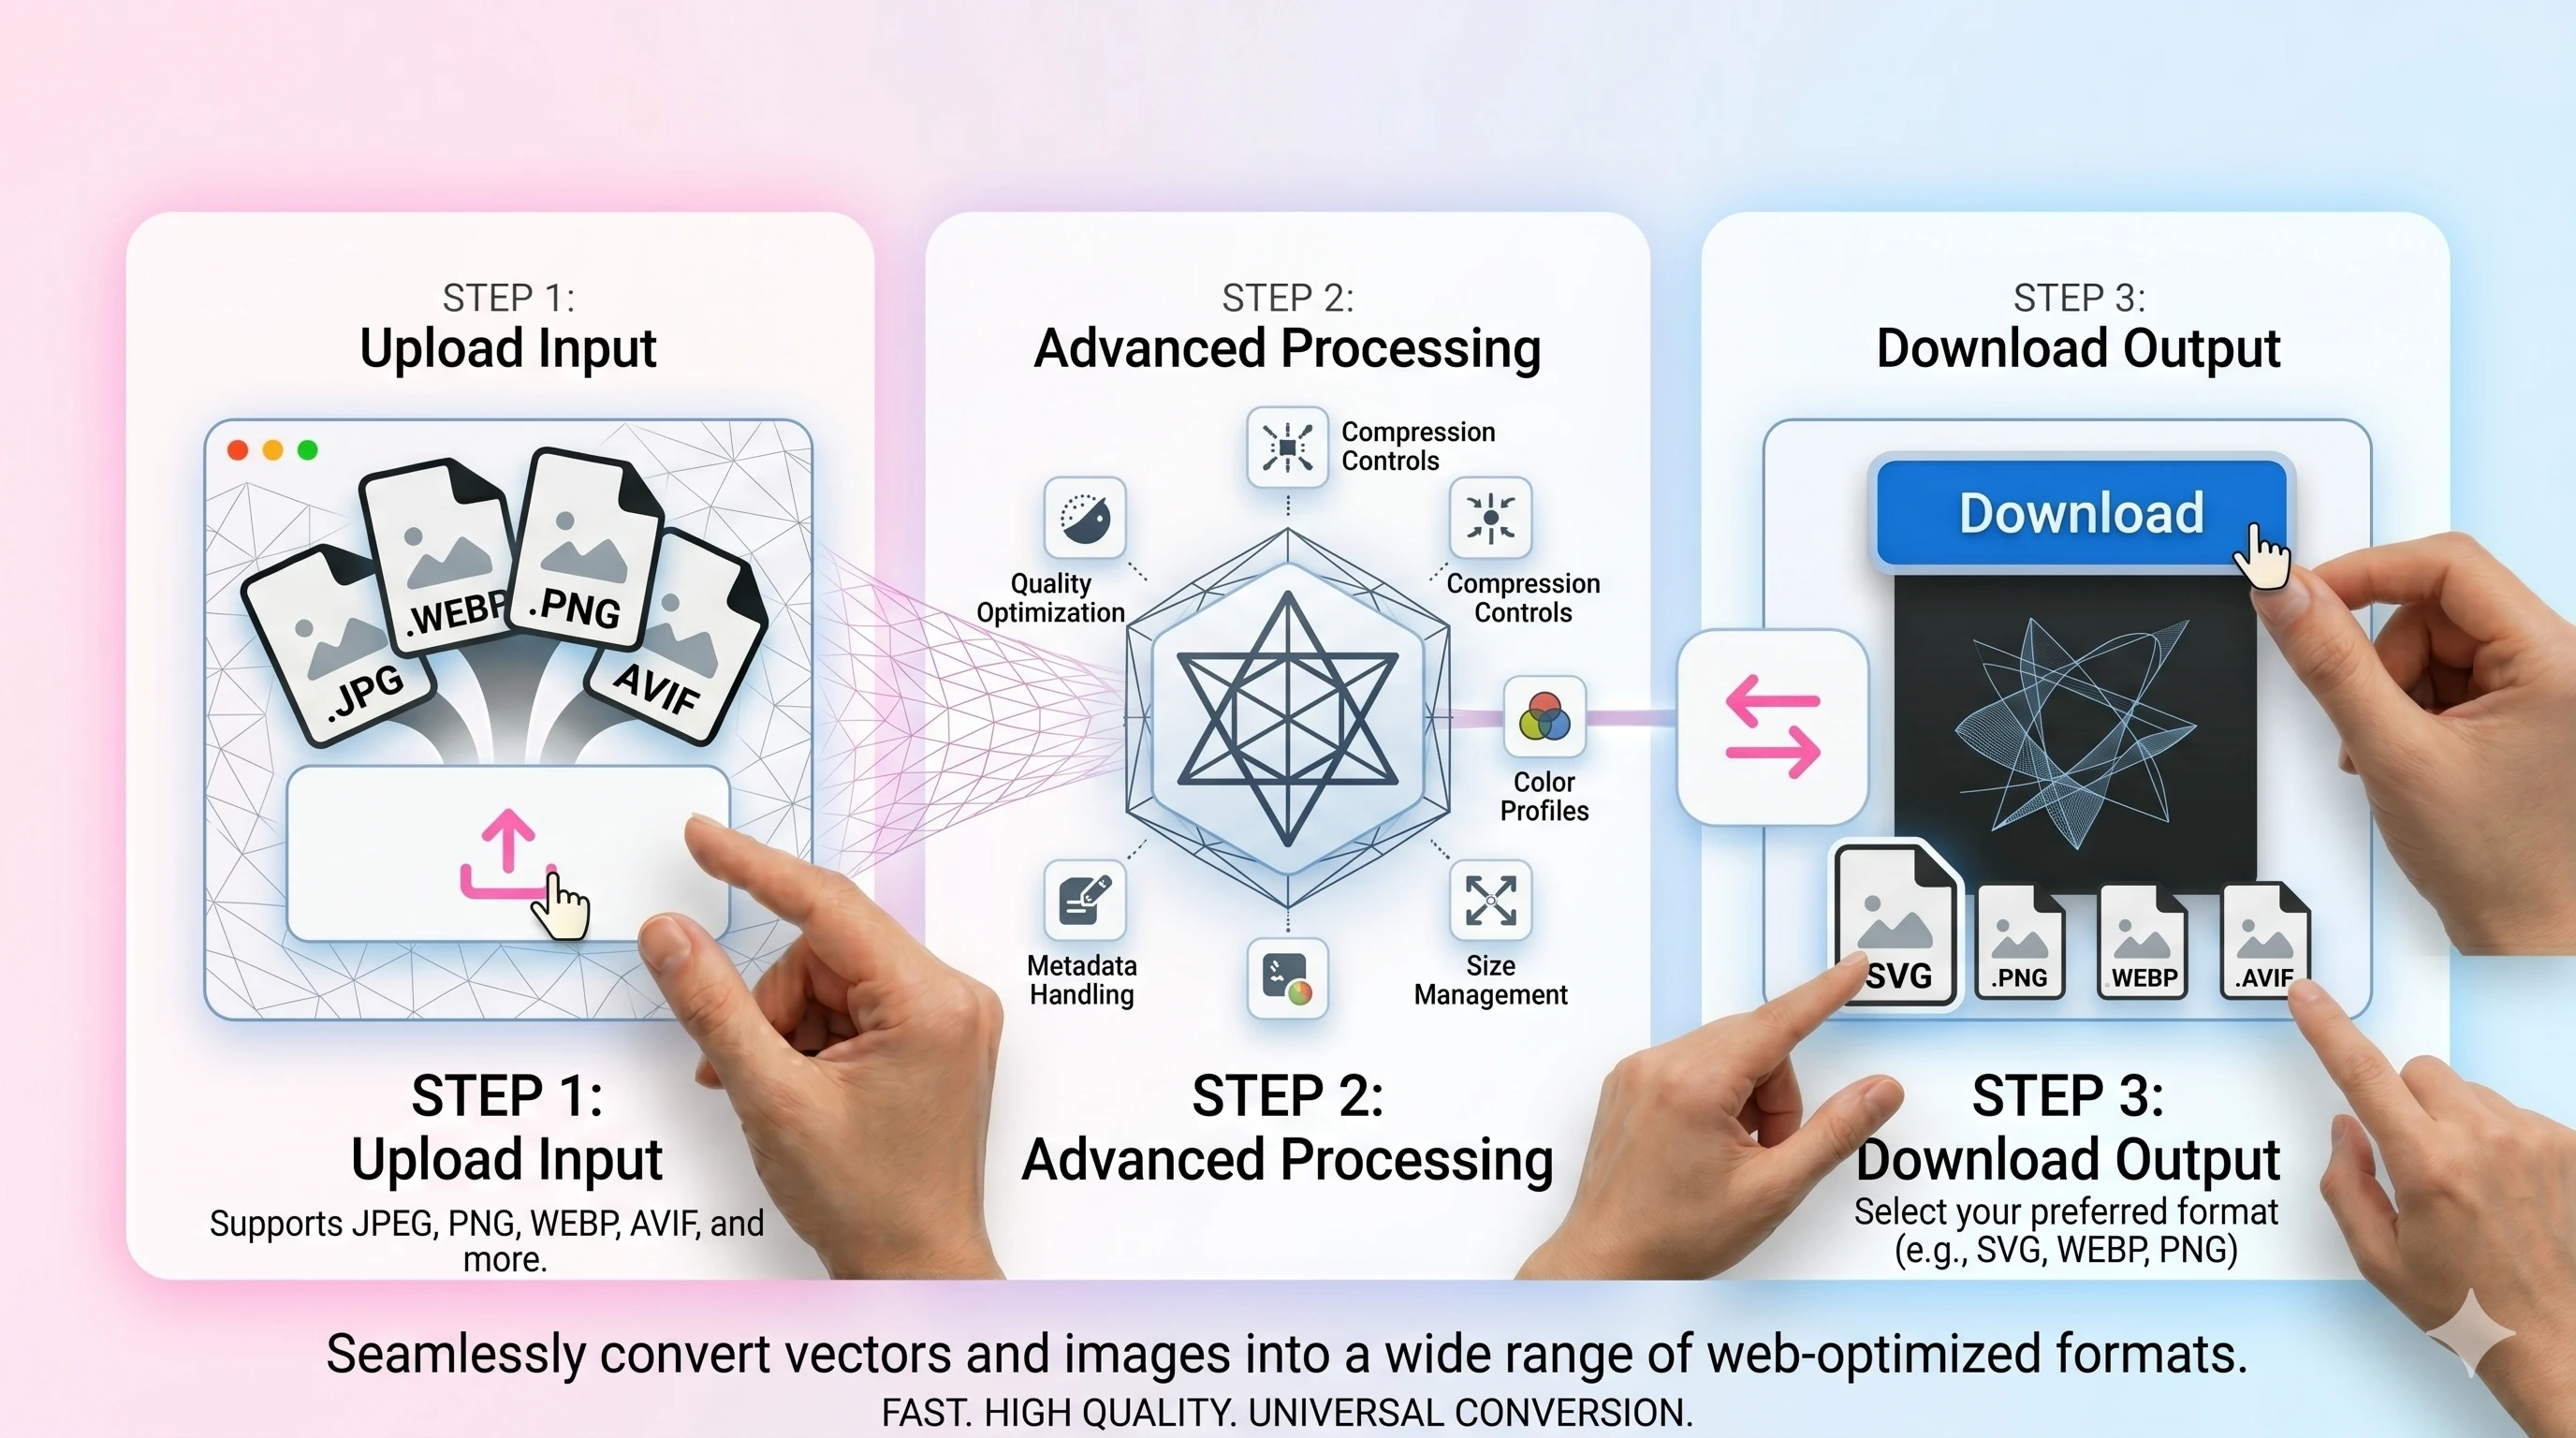
Upload a JPEG → get PNG.
Original
Converted
This tool processes on your device; your file is not uploaded for processing.
About
There's a common assumption that converting a JPEG to PNG produces a higher-quality image, the same way ripping a CD to FLAC sounds better than ripping it to MP3. It doesn't work that way. Whatever JPEG already discarded during its original encode — and at typical web-quality settings, that's a meaningful amount of detail in skies, gradients, and skin tones — is gone for good. PNG can preserve every pixel from this point forward, but it can't reconstruct anything that was already thrown away. So the right question to ask before doing this conversion isn't whether the PNG will look better than the JPEG (it won't), but whether you have a downstream reason to stop the lossy chain right here.
The strongest reason most people end up needing this conversion is editing. Every time a JPEG is opened, edited, and re-saved, the encoder has another go at it and removes a little more detail; do that five or six times during a normal design session and the cumulative damage starts surfacing as mosquito noise around text and visible blocks in flat colour areas. PNG breaks that chain. Once a file is PNG, you can crop, layer, blur, sharpen, and re-export as many times as the workflow asks for without losing anything further. For designers handed a JPEG that needs more than a single pass of work — a marketing asset that's about to get a logo overlaid on it, a product photo heading into a comp — this conversion is usually the first step before anything else even gets opened.
Another typical case is wanting transparency the source never had. JPEG can't carry an alpha channel, so a logo or a product shot delivered as JPEG arrives glued to whatever background it was rendered against. Converting to PNG won't magically remove the background; it just gives you a format that can hold a real alpha channel once you do the cutout work — in Photoshop, GIMP, Affinity, or any of the online background-removal tools that have appeared in the last few years. Saving as PNG up front means the cutout you do later actually persists as transparent, instead of being silently re-flattened the moment something tries to save the file as JPEG again.
Anyone watching disk space will notice the same surprise: the PNG output of a converted JPEG is usually bigger, sometimes substantially bigger, than the original. A 400KB JPEG photograph can easily produce a 2–3MB PNG, because PNG's lossless compression has nothing in common with JPEG's frequency-domain approach and is genuinely poor at compressing photographic content. This isn't a bug — it's the price tag on the lossless guarantee. If size matters more than the lossless promise, lossless WEBP and lossless AVIF compress photographs noticeably better than PNG without any quality loss. PNG is the right answer when compatibility with older editors, plugin chains, and design tools outweighs bytes on disk.
There's a narrower case where the conversion does something visibly useful: screenshots. If a screenshot of a UI, a code editor, a chart, or a slide was saved as JPEG by an over-eager phone gallery app or a CMS that re-encodes everything, the text edges will already be smudged. Converting that JPEG to PNG won't restore sharpness that's already gone, but it stops the next round-trip from making things worse — and in many cases, the difference between a JPEG screenshot and a PNG screenshot in a slide deck is whether anyone in the back row of the meeting can actually read the text. Standardising on PNG for any kind of UI capture is a small habit that pays back later.
The conversion is the wrong move when no editing or alpha work is coming. A JPEG that's just going to be uploaded as-is to a social platform, an item listing, a forum post, or a chat is fine staying as JPEG; the platform will re-encode it anyway, and a much larger PNG only makes the upload slower without any visible benefit on the receiving end. If the only intended job for the file is being looked at and shared, PNG is the wrong format and this conversion is a step in the wrong direction. The conversion makes sense when there's more to do with the file than glance at it once.
Two technical details worth knowing about. Pixel values are preserved one-to-one across the conversion — there's no implicit colour-space resampling, and an sRGB JPEG produces an sRGB PNG with the exact same numeric values in each channel. EXIF metadata is the more complicated story: PNG's metadata model is fragmented across several non-standard chunks, and most converters simply drop EXIF on the way through. If you need camera model, capture timestamp, or geolocation data preserved, keep the original JPEG alongside the PNG output rather than trusting the converted file to carry that information forward.
There's a quieter case where this conversion saves real money rather than just time, and it shows up in archive housekeeping. A folder of JPEGs that has accumulated over a few years almost always contains some files that have been opened, edited, and re-saved enough times to look noticeably worse than the originals — old marketing assets that have been resized for different campaigns, family photos that have travelled through three different photo apps, scans that someone helpfully sharpened at some point. Converting those to PNG before the next round of edits draws a line under the loss accumulated so far; the result isn't sharper than the JPEG it came from, but everything that happens to it from this point onward is lossless. Once the editing is done, the working copy can go back to JPEG for delivery while the original PNG export stays as the safe checkpoint for the next time someone needs to revisit the asset.
A small but useful thing to know about progressive JPEGs: they're a different on-disk arrangement than baseline JPEGs but contain the same underlying image data, and the conversion to PNG produces identical results from either source. Some older JPEGs you encounter in the wild — anything saved by a 1990s digital camera, files exported by certain print-prep tools, JPEGs lifted from email attachments long ago — can be progressive without you ever noticing, and converters that don't handle that case cleanly can produce subtly broken output. The path here decodes both forms transparently, so a progressive JPEG saved by some forgotten piece of software ten years ago comes through as cleanly as a fresh JPEG out of an iPhone today.
In practice the conversion is a single round trip. Drop a JPEG in, get a PNG back — there's no quality slider on the output side because PNG is lossless and the image either comes through pixel-for-pixel or there's a bug to fix. Files are processed in short-lived temporary storage, download links expire quickly, no account is required to use the tool, and the output never carries a watermark. Multiple files can be run through one after another without hitting a quota wall, which is often the point at which other free converters start asking for a paid plan. A normal phone-camera JPEG finishes converting in well under a second; very large scans take proportionally longer but still complete in a single pass.
Use cases
- Save a screenshot as PNG so text and UI lines stay crisp.
- Prepare JPEG assets for editing without additional recompression.
- Standardize a pipeline that expects PNG inputs in design tools.
- Export images for slides or docs where sharp edges matter.
How it works
- 1Upload your JPG/JPEG file.
- 2Convert to PNG (no transparency is added automatically).
- 3Download the PNG result.
FAQ
Will this add a transparent background?
No. JPEG files do not contain transparency, so converting to PNG keeps the same opaque pixels.
Will the PNG look higher quality than the JPEG?
It will not restore lost detail, but it prevents further quality loss when you edit and re-save.
Why is the PNG file bigger?
PNG is lossless and often larger than JPEG for photos. Use WEBP/AVIF if you mainly want smaller web files.
Do you keep metadata (EXIF)?
Metadata handling depends on export settings; keep the original if you need full EXIF preserved.