PNG to JPEG converter
PNG is great while you're designing — lossless, transparent, crisp edges — but it's usually the wrong format to ship. For a marketplace product photo, a forum avatar, or an email attachment, a JPEG at quality 85 looks identical and is often a third of the size. This tool flattens the alpha channel against a background color of your choice (useful so a transparent logo doesn't end up with a black halo on an older viewer), lets you nudge quality if you care, and exports a standard JPEG. If you're batch-preparing images for a site, do this step before upload — it saves bandwidth and improves page speed.
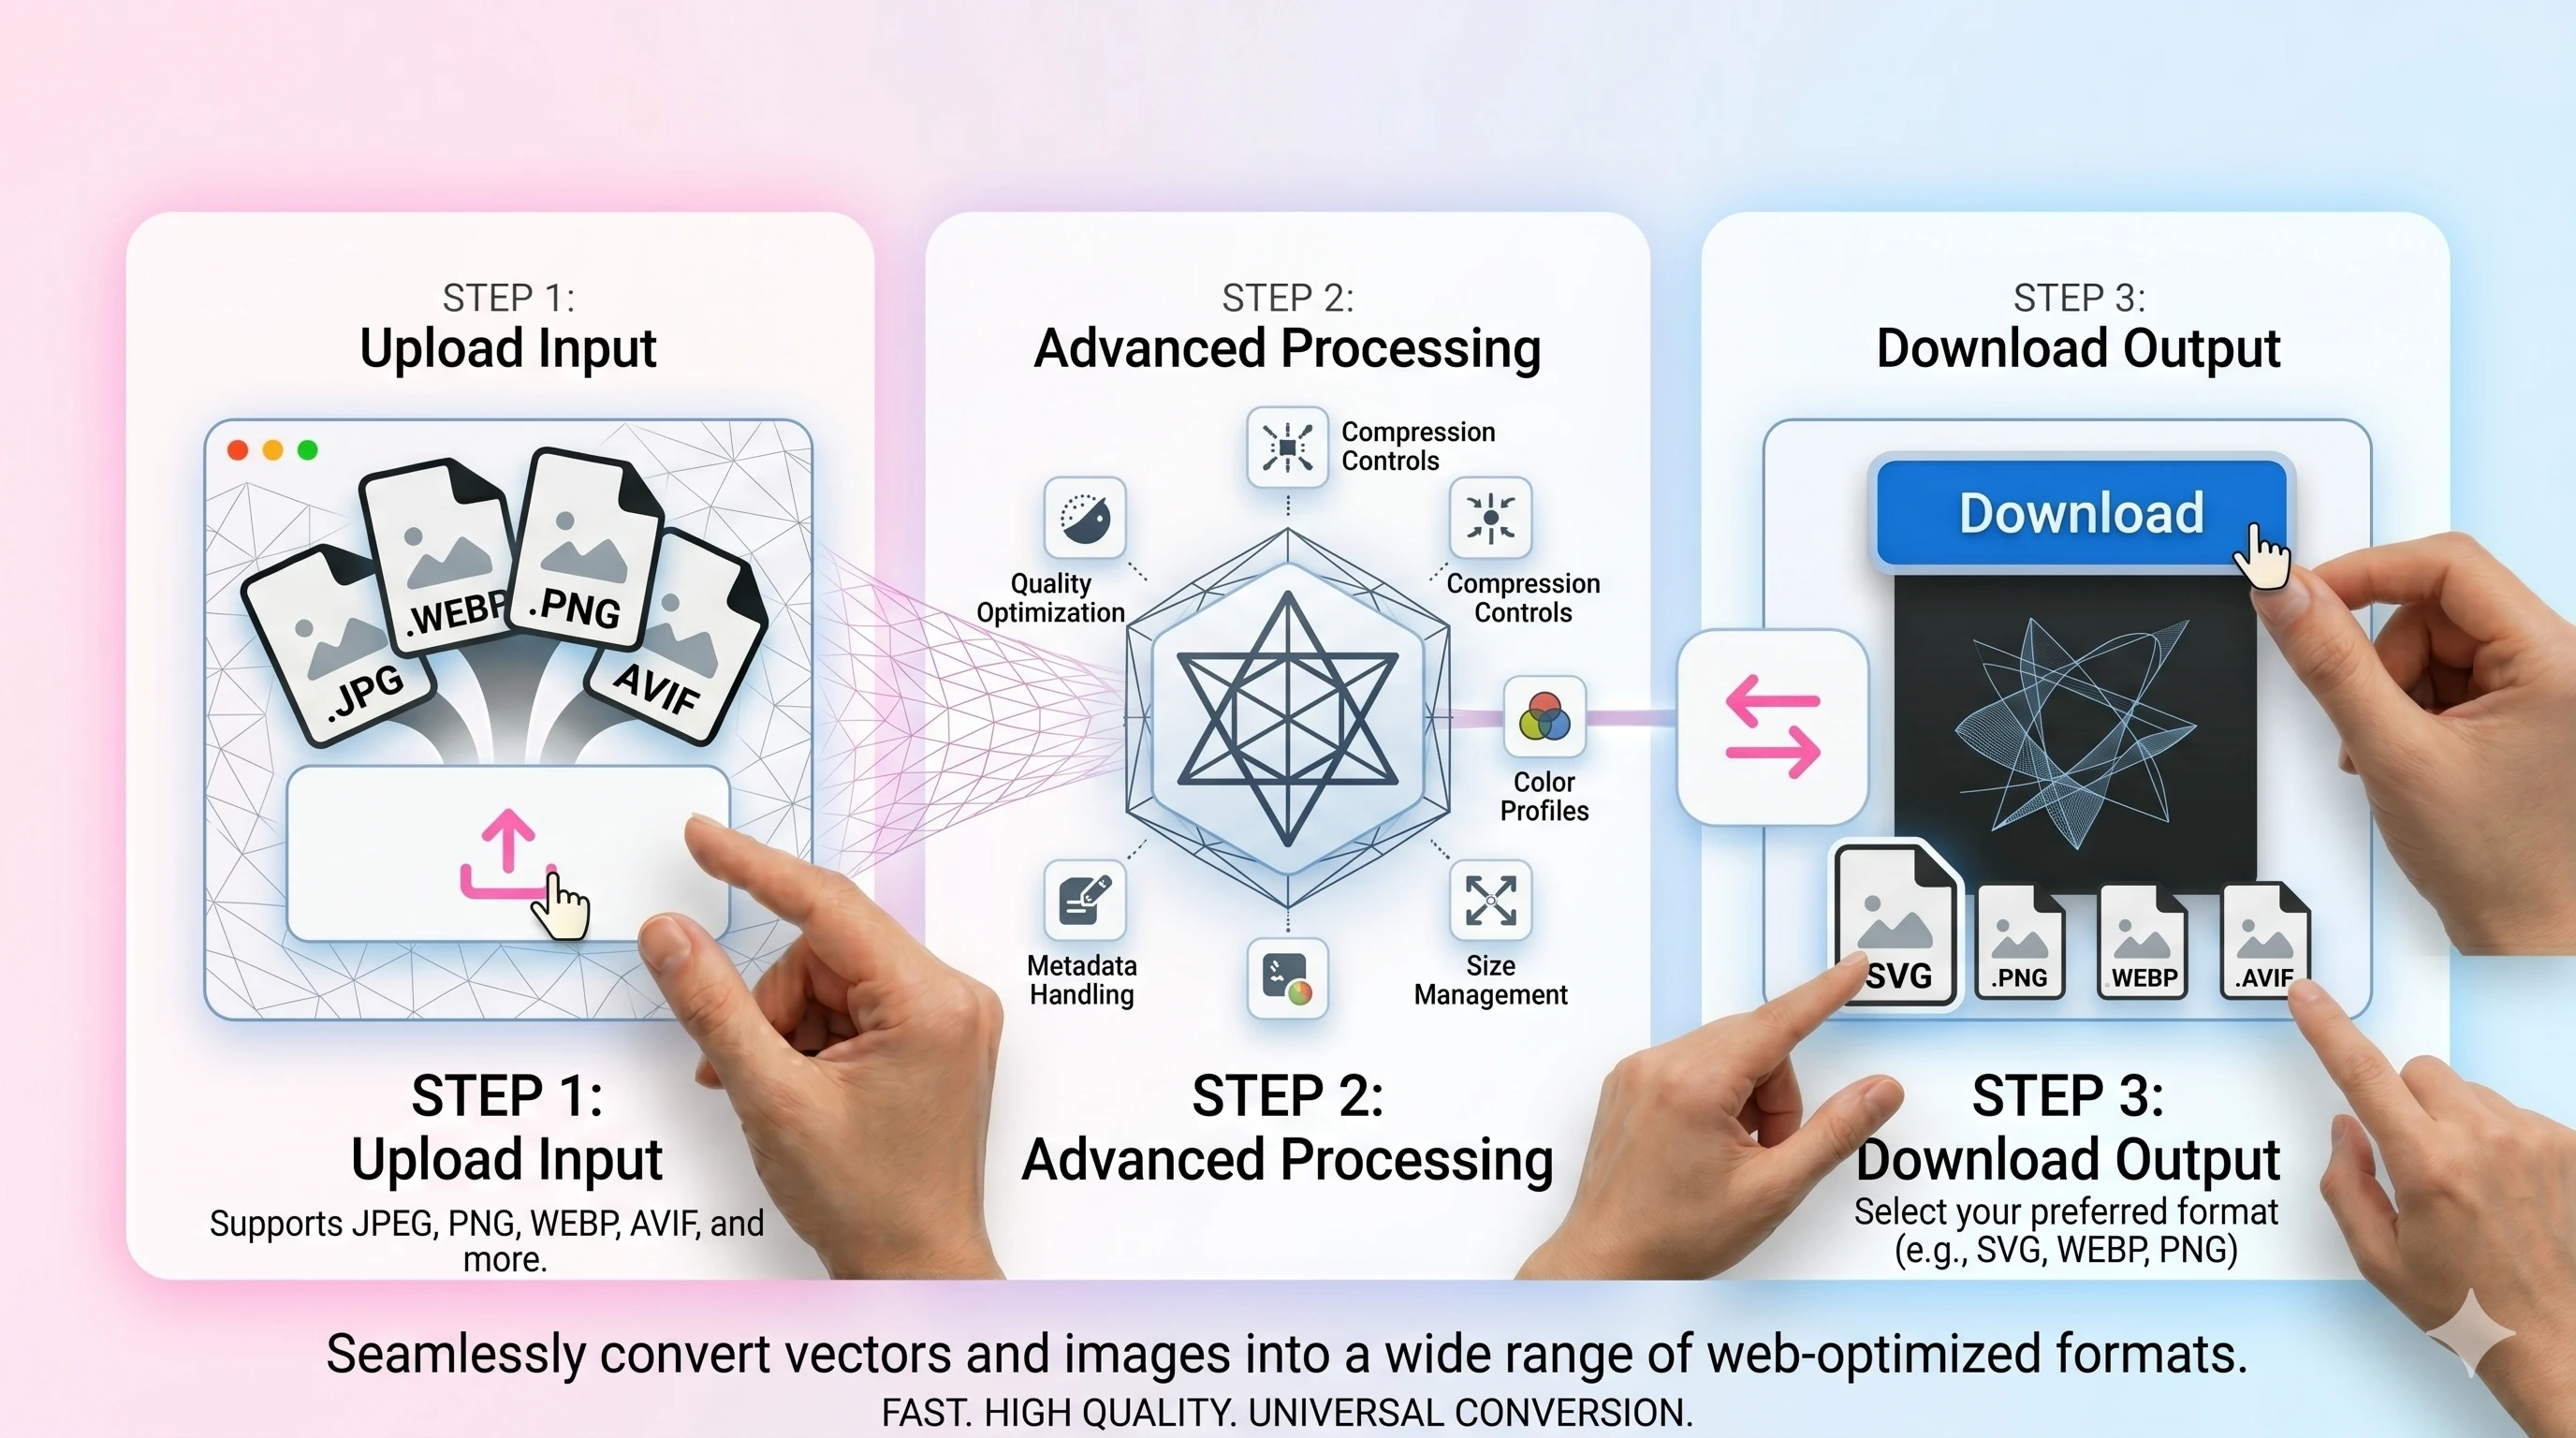
Upload a PNG → get JPEG. JPEG has no transparency; the background fills transparent pixels.
Original
Converted
This tool processes on your device; your file is not uploaded for processing.
About
PNG is what most people reach for during design work because it's lossless, it carries an alpha channel, and screenshots straight out of macOS, Windows, and Figma all default to it. The trouble is that PNG was never optimised for shipping photographs. Once an image leaves the editor and starts heading toward an inbox, a marketplace listing, a forum post, or a CMS upload form, JPEG is almost always the better delivery format — sometimes a third or a quarter of the original size with no visible difference at sensible quality settings. This converter is the bridge between those two worlds: drop in a PNG and walk away with a JPEG that's small enough to attach without an argument from the receiving system, and small enough to load on a slow connection without keeping someone waiting.
The interesting part of converting PNG to JPEG is what happens to transparency, because JPEG simply doesn't have it. Every transparent or semi-transparent pixel in the source has to be flattened against something — and if you don't pick what that something is, you end up with whatever the converter decides, which is often pure black or pure white. Both choices look fine on top of a matching background and surprisingly bad everywhere else. A logo with a transparent halo that gets flattened to white will show a visible bright box on a dark website; the same logo flattened to black will look bruised on a light page. The background colour picker is the fix: choose whatever colour the receiving page is going to be, and the edges will sit cleanly against it instead of fighting.
Quality is the second knob worth understanding before you start trusting the defaults. JPEG is a lossy format that discards detail in exchange for smaller files, and the quality slider controls how aggressively it does that. For most photographs, 82–88 is the sweet spot: visually indistinguishable from the source on a normal screen, but a small fraction of the original bytes. Going up to 95 buys you almost nothing visible at a noticeable size cost; dropping to 70 starts to introduce blocky artefacts in skies, skin tones, and any large flat region. If the source is a screenshot or a UI mockup with hard edges, push slightly higher than you would for a photo, because JPEG handles photographic gradients far better than it handles crisp graphic lines.
There are cases where converting PNG to JPEG is the wrong move, and they're worth catching before you commit. Logos, icons, and line art with sharp edges and large solid colour fields look noticeably worse as JPEG, because the format's frequency-domain compression smudges the boundary between two adjacent flat colours. App icons, brand marks, pixel-perfect UI screenshots, and exported chart graphics are usually better off staying as PNG, or moving to WEBP and AVIF, which keep both transparency and crisp edges intact. If the PNG is heading toward a print workflow, talk to whoever's printing it first — many shops still prefer TIFF or specifically configured CMYK JPEGs and won't tell you the file is wrong until proof time.
The conversion shines in a handful of predictable workflows. Marketplace listings — eBay, Amazon Seller Central, Shopify product galleries, Etsy listings — almost universally prefer JPEG and frequently re-encode anything you upload anyway, so giving them a clean JPEG to start with means fewer surprises in how the final thumbnail renders. Email attachments compress more politely as JPEG and tend to slip past size limits that a 4MB transparent PNG hits the moment you press send. Older forum software, certain ticketing systems, and a long tail of WordPress and Joomla installations from before 2015 still occasionally choke on transparent PNGs in gallery widgets. Converting up front means one fewer thing for the receiving system to fix automatically — usually badly.
On file size, the rule of thumb is that a photographic PNG converted to JPEG at quality 85 lands somewhere around 15 to 25 percent of the original byte count. A 6MB screenshot of a photo-heavy article page might come out close to 1MB; a 12MB DSLR export saved as PNG by mistake might land near 2MB. A flat-colour logo, oddly, will sometimes grow during the conversion, because JPEG's entropy coding is poorly suited to large blocks of identical pixels — another reason the format belongs with photos and not with vector-style graphics. If you're trying to squeeze under a specific upload cap, try a few quality settings rather than reaching straight for 100; the size difference between 80 and 90 is far larger than the visual difference, and 95 is almost always wasted data.
Two smaller details worth knowing about: colour profiles and metadata. PNGs often carry an embedded sRGB or Display P3 colour profile, and a careless conversion can ignore that profile entirely, producing a JPEG whose colours subtly shift when it lands on someone else's screen. The output here preserves a sensible sRGB profile so the colours look the same on the other end, regardless of which browser or viewer opens it. EXIF metadata is a different story — most PNGs don't carry rich EXIF, but anything that is there (creation timestamps, the software that produced it, occasional location data from phone-edited screenshots) gets dropped during conversion. That's usually a feature when you're sharing publicly, but worth knowing if you rely on EXIF to sort or filter your local archive.
Screenshots from a phone or a desktop are worth thinking about separately, because they're the source files most likely to land as PNG by accident rather than by deliberate choice. iOS and Android both produce PNG by default for system screenshots, and modern phones do so at very high pixel densities — a five-second capture of an app screen can produce a surprisingly large file given how simple the contents are. Converting those to JPEG before they enter a chat thread, an email, or a customer-support ticket is often the difference between a usable attachment and one that hits a five-megabyte inline limit and silently fails to send. Quality eighty-eight with a default white background tends to be the right answer for screenshots, because the source carried no transparency and the only thing genuinely changing in the conversion is the encode itself.
It's also worth treating this as a one-way export rather than a destructive change to the original. Keeping the source PNG in whatever organised folder structure already exists — Drive, Dropbox, an in-house design system, the asset library inside Figma — and treating the JPEG output as a derivative copy means future re-exports at different settings stay easy, and any team member who needs the lossless source can reach for it without having to ask. The discipline that scales is naming the JPEG with the same root filename as the source PNG, with a small suffix or quality marker, so the relationship between the two stays obvious six months later when someone needs to chase down where a particular hero image came from and at what compression level it shipped.
Practically, the conversion happens in a single round trip. Drop the PNG in, pick a background colour and a quality value if the defaults don't suit the use case, and the JPEG is ready to download immediately. Files are processed in short-lived temporary storage, the download links expire quickly, nothing is stored long-term, no account is required to use the tool, and the output never carries a watermark. You can run a stack of files through one after another without hitting a per-day quota — which is usually the point at which other free converters start asking for an email address or a paid upgrade. If a file fails for any reason, retrying with the same settings is fine; nothing is queued or rate-limited based on prior conversions.
Use cases
- Flatten transparent logos into JPG for marketplaces that reject PNG alpha.
- Create smaller, shareable JPGs for email and messaging apps.
- Export compatibility-friendly images for older viewers and printers.
- Pick a custom background color so edges look clean on any site.
How it works
- 1Upload your PNG file.
- 2Choose a background color (for transparency) and set quality.
- 3Convert and download the JPG/JPEG result.
FAQ
Does PNG transparency carry over to JPEG?
No—JPEG has no transparency. Use a background color to flatten transparent pixels cleanly.
Why do edges sometimes look dark after conversion?
Transparent pixels can blend with a default background. Pick a background color close to your target page color to avoid halos.
What quality should I use?
For photos, 82–90 is a good balance. Use higher values for graphics with sharp edges.
Do you remove EXIF metadata?
The converter can strip EXIF to reduce size. If you need metadata preserved, keep the original file.