JPEG to WEBP converter
Swapping JPEGs for WEBP on a website usually cuts image weight by 25-35% at equivalent quality — on an image-heavy page that's the difference between a 2s and a 1.3s paint on mobile. This tool re-encodes your JPEG to WEBP with a quality slider so you can A/B what's acceptable for each image (photographs tolerate lower quality than graphics with text). Use it for blog post images, product galleries, or any static asset you're about to upload to a CDN. Keep the original JPEG too so you can re-export at different qualities later if a viewer complains.
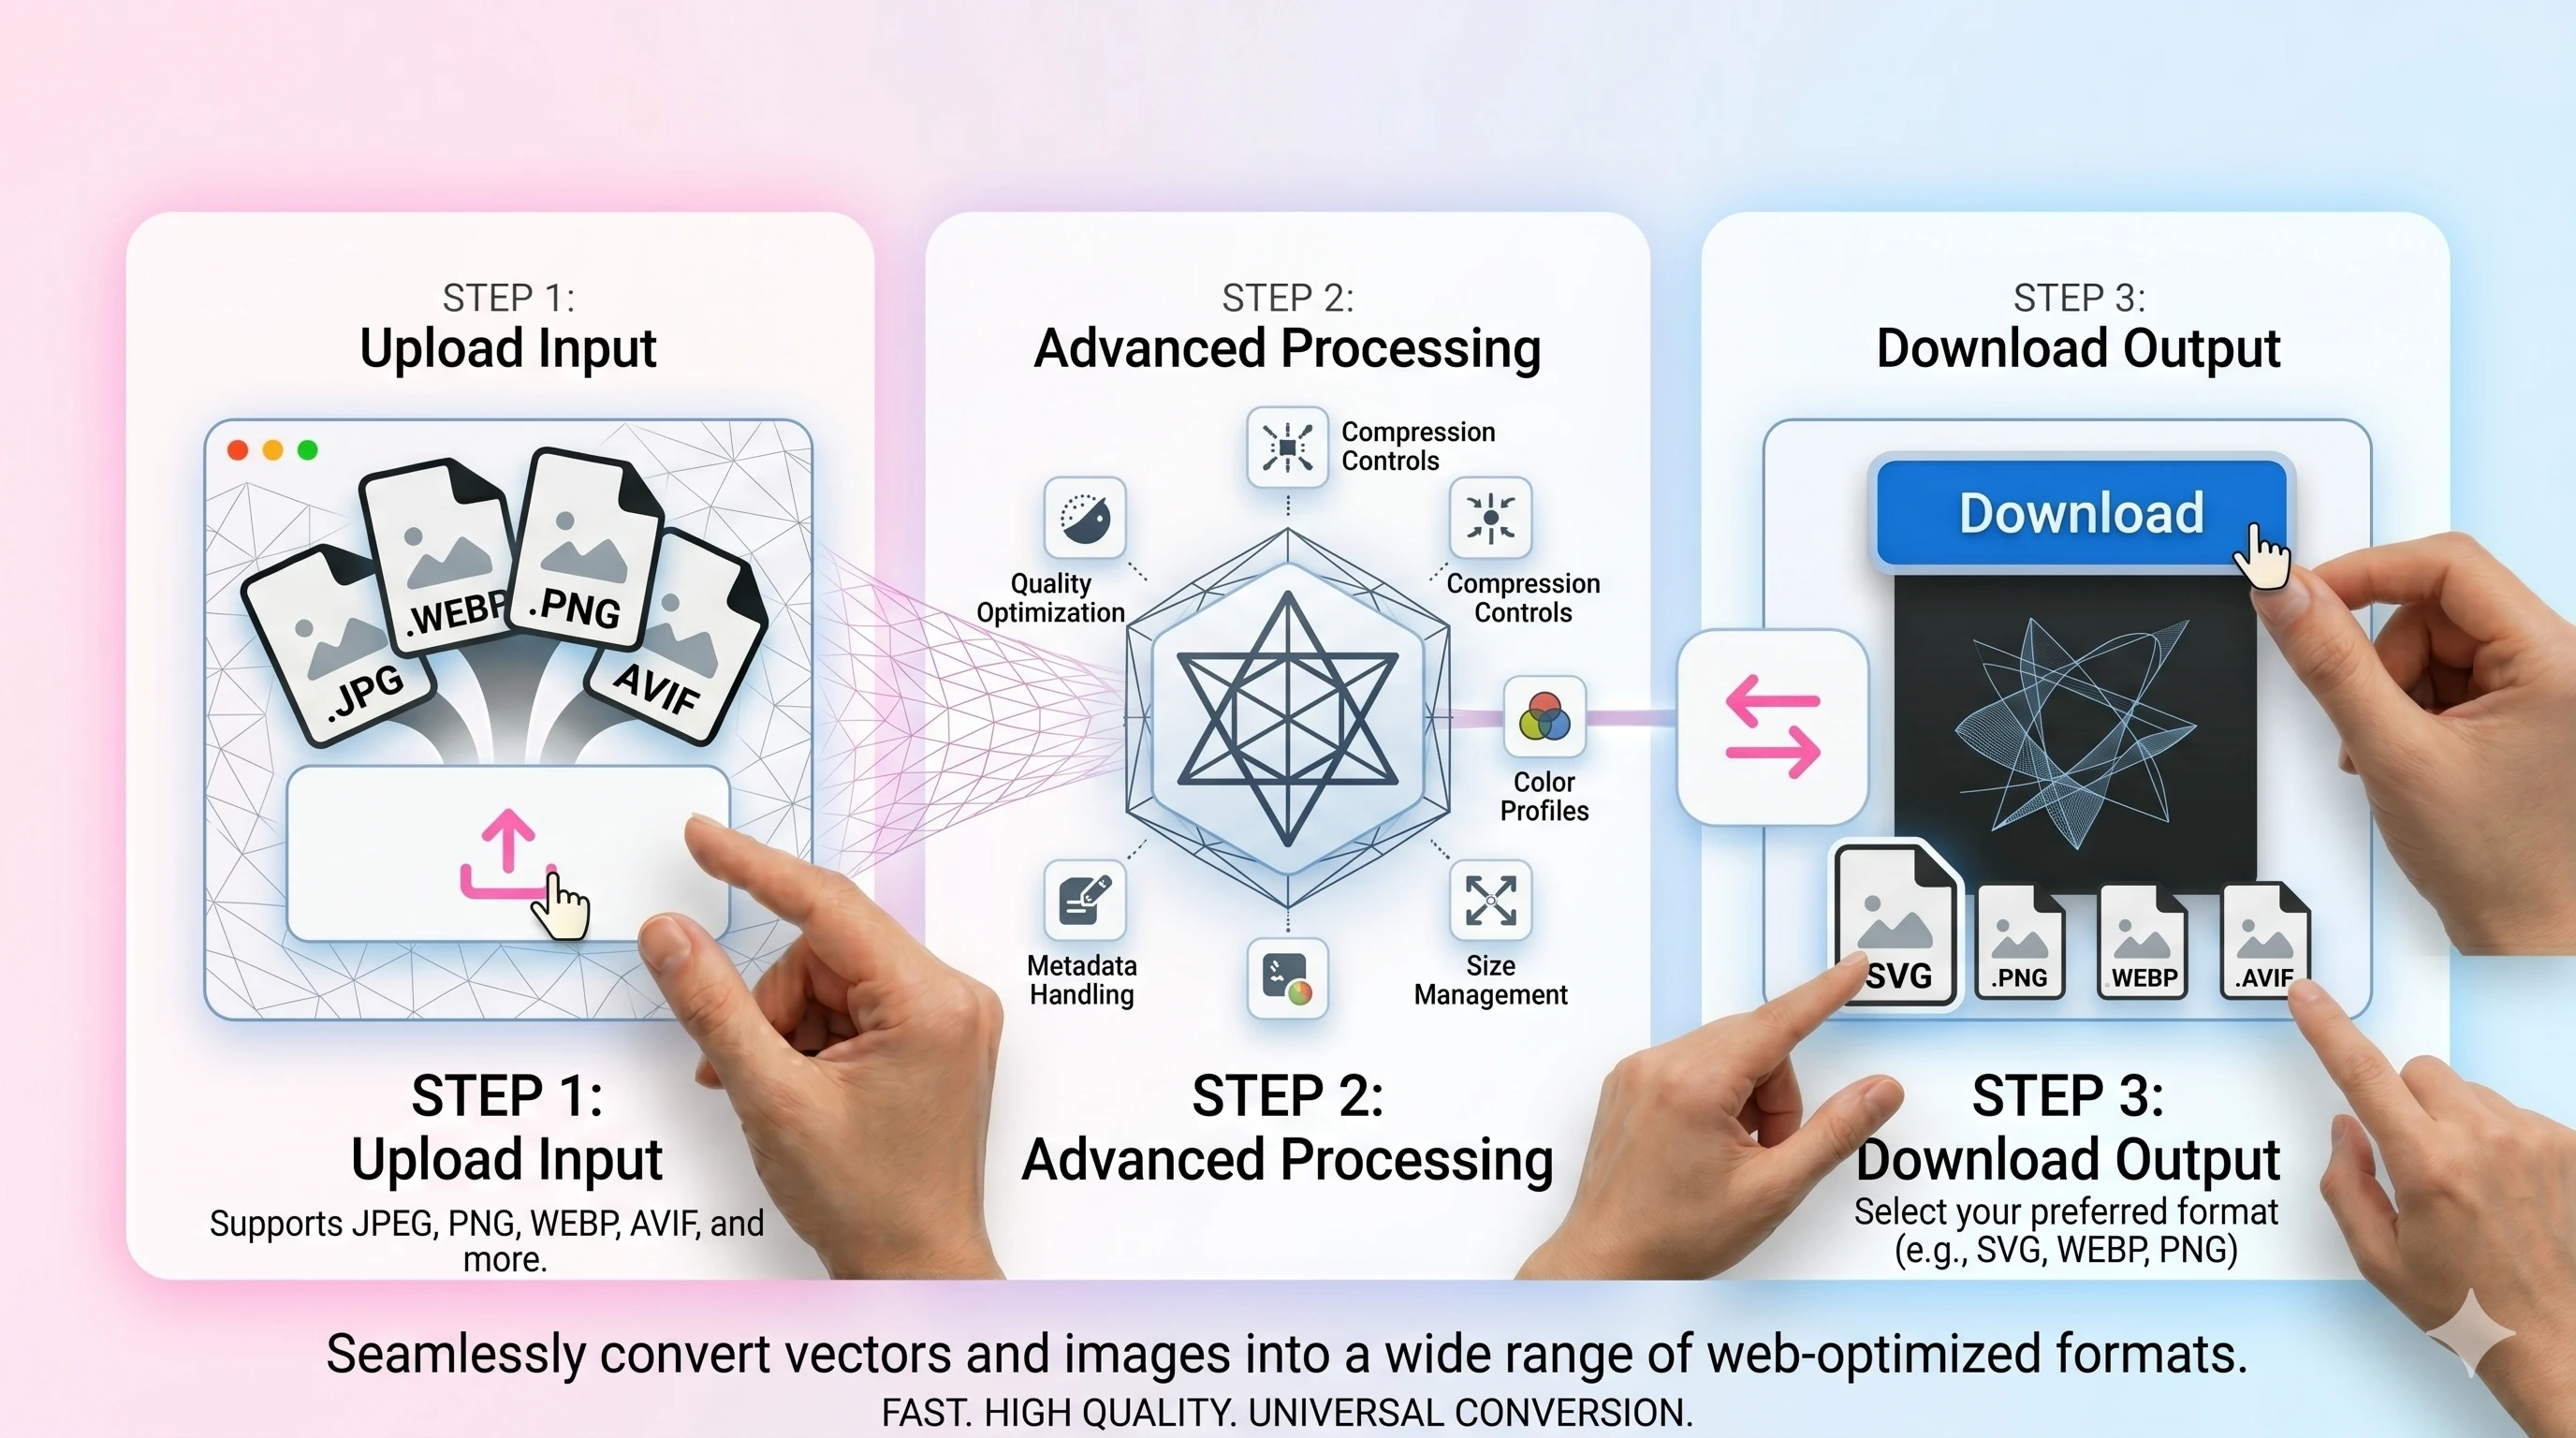
Upload a JPEG → get WEBP.
Original
Converted
This tool processes on your device; your file is not uploaded for processing.
About
Most websites that still ship JPEGs as their main image format aren't doing it on purpose; they're doing it because that's what the CMS produced when someone uploaded a phone photo five years ago and nobody has gone back to revisit the asset library since. Swapping those JPEGs for WEBP is one of the cheapest performance wins available — typically a 25–35% reduction in transferred bytes at perceptually equivalent quality, which on an image-heavy article or product page often translates to a one-second drop in mobile largest-contentful-paint. This converter handles the per-file step of that swap: a JPEG goes in, a WEBP comes out, and the rest of the page can stay exactly as it was.
The conversion is most worth doing for the assets that actually move the needle on page weight. Hero images at the top of a page, product gallery thumbnails, blog post inline images, and recipe-style photo grids are the obvious candidates because they're the ones that dominate the byte budget. Tiny UI sprites and decorative icons under 5KB barely benefit, since at that size the format overhead is comparable to the image data itself; concentrating effort on the genuinely large files is the more honest path to a faster site than running every single asset through the converter for the sake of it.
Quality is the central knob and it's worth treating as content-dependent rather than a single global default. Photographs tolerate aggressive WEBP quality settings — 75–80 is usually visually indistinguishable from the source JPEG, and at that level the size savings are at their best. Screenshots, line art, and graphics with embedded text need higher quality (85–92) because WEBP's compression, like JPEG's, smudges sharp edges first. The slider in this tool exists so you can match the setting to what the image actually contains rather than committing to a single value across an entire library.
Re-encoding from JPEG to WEBP is genuinely a re-encode, not a remux — the original lossy compression is decoded back to pixels and then re-compressed. That means each conversion adds a small generation of additional loss on top of whatever the JPEG already had, and chaining conversions (JPEG → WEBP → JPEG → WEBP again) compounds that loss faster than you'd expect. The recommendation is to convert from the original JPEG once, ship the WEBP as the served file, and keep the original JPEG safe in cold storage so a future re-export at different settings goes back to the cleaner source.
Browser support stopped being a real concern around 2020. WEBP works in every current version of Chrome, Edge, Firefox, Safari, Opera, and the major mobile browsers, including the embedded webviews inside iOS and Android apps. The remaining edge cases are mostly old internal tools, a handful of email clients, and the occasional Windows photo viewer running on a desktop nobody has updated since the pandemic. For a normal public-facing website those holdouts no longer matter; for an internal portal serving a known fleet of clients, sticking with JPEG might still be the right call.
The size savings interact with delivery infrastructure in a way worth knowing about. CDNs that auto-negotiate format via Accept headers will already be serving WEBP to compatible browsers if the underlying file is JPEG; the gain from converting to WEBP at the source comes when the CDN doesn't do that, when origin storage costs matter, or when a static-site generator is producing the bytes that get deployed once and then sit there. If the platform isn't doing on-the-fly format negotiation, a manual WEBP conversion in the build is where the actual byte reduction lives.
Two smaller technical notes. EXIF metadata is normally dropped during the conversion, which is usually what you want on the public web — fewer kilobytes of camera details and embedded thumbnails travelling around with every page load. If a particular asset needs to keep EXIF for accessibility, copyright, or auditing reasons, store the original JPEG with metadata intact and use the WEBP only for delivery. Colour profiles are preserved as sRGB, which is what every modern browser assumes anyway; wide-gamut Display P3 sources will be tone-mapped down to sRGB cleanly without surprising hue shifts.
WordPress and Drupal sites running for years on legacy themes are a particular case where this conversion has direct downstream impact. The big WordPress image-optimisation plugins — Smush, ShortPixel, Imagify, EWWW — all convert JPEG to WEBP automatically once installed and configured, but the older a site gets, the more JPEG content has accumulated before any of those plugins were turned on, and the more existing files there are that no plugin will revisit unless explicitly asked. Doing a manual WEBP conversion of high-traffic legacy posts (the ones still pulling search traffic in 2024 even though they were published in 2017) is often the simplest way to catch up; once the conversion is done, the site speed of those specific archive pages improves immediately even if the rest of the catalogue waits for the plugin's batch process to reach it.
There's an underappreciated angle on Lighthouse and Core Web Vitals scores that this conversion plays into directly. Largest Contentful Paint, the metric Google now weighs heaviest for ranking purposes, is essentially a stopwatch on whichever DOM element is the visually largest piece of content that paints to the user's screen. On most public pages that element is a hero image. If the hero is a JPEG, replacing it with a WEBP at equivalent quality typically takes 200 to 600 milliseconds off the LCP measurement on a 4G connection, and that's frequently the difference between landing in the green band of the Web Vitals histogram and sitting just outside it. The conversion isn't a magic SEO trick on its own, but it removes one of the easier excuses for slow performance that Lighthouse points at when an audit runs.
Image-CDN comparison is another frame for thinking about whether to do this conversion yourself. Cloudinary, imgix, and similar services will negotiate format on the fly based on the visitor's Accept header — send them a JPEG, they'll deliver WEBP or AVIF to clients that support it. That's a clean answer for sites that already pay for one of those services. For sites that don't, manual WEBP conversion at the source is where the equivalent benefit lives, and the cost difference between the two paths is often substantial: small static sites can save hundreds of euros per year by converting at build time rather than paying per-image transformation fees on a managed CDN. Whether to outsource that work or do it yourself is mostly a question of how much time the team wants to spend on image pipeline plumbing.
Operationally the converter is a single drop. Drag in a JPEG, pick a quality if the default doesn't suit the content, get the WEBP back. Files are processed in short-lived temporary storage, links expire quickly, no signup, no watermark, and no per-day quota waiting to bite a few files in. Multiple JPEGs can run through one after another, which matters when prepping a folder of blog assets for a static-site rebuild or doing a one-time migration of a small product catalogue. Most files convert in under a second; large originals take proportionally longer but still finish in a single pass without intermediate steps. If a particular asset doesn't shrink as much as expected, that's usually a sign the source JPEG was already heavily compressed at the original encode — the comparison to make is between WEBP and the cleanest available source, not between WEBP and an already-degraded JPEG.
Use cases
- Reduce image weight for faster Core Web Vitals and SEO.
- Convert product photos to WEBP for ecommerce galleries.
- Ship smaller hero images without obvious quality loss.
- Prepare assets for modern browsers and CDNs.
How it works
- 1Upload your JPG/JPEG.
- 2Set WEBP quality (82–90 works well for photos).
- 3Convert and download the WEBP file.
FAQ
Is WEBP supported everywhere?
Most modern browsers support WEBP. For legacy apps, keep a JPEG fallback.
Will WEBP always be smaller than JPEG?
Often, but not always. The best format depends on image type and settings.
What quality should I choose?
Try 82–90 for photos and higher for sharp graphics. Preview and adjust as needed.
Do you remove EXIF metadata?
Metadata can be stripped for privacy and size. Keep the original if you need EXIF preserved.